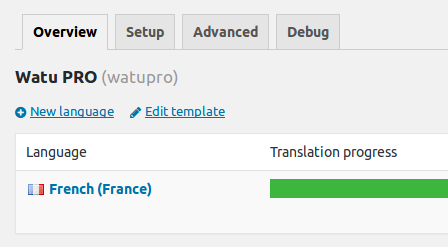
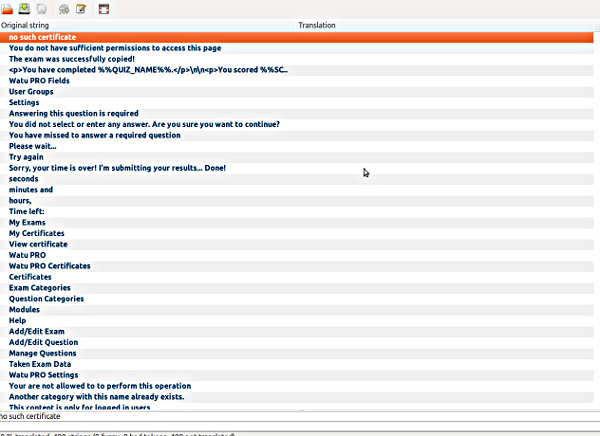
This is valid not only for translations but also for changing any texts within a plugin.
We got this asked a lot. The official WordPress guide about translating is a bit confusing and isn’t focused on plugins, so I decided to write a short guide here. It will use WatuPRO as an example but is also applicable to any other properly written and localization-ready WordPress plugin. Let’s go, step by step.
(Note: WatuPRO customers can find some existing community translations here)
Using Loco Translate (Recommended)
If you can’t get the translation to work, check the Troubleshooting section.
1. Install and activate Loco Translate
Loco Translate is the de-facto standard for doing this, it’s free and easy to use.
2. Create New Translation
Unless you have downloaded a translation file, you will need to create new translation. Select the plugin from the “Plugins” menu under Loco Translate and click on “New Language”:

On the next screen select your language and choose a location:

When doing a new translation yourself or editing a translation select the second option – “Custom” as shown above. This will ensure that your files will not be deleted if you manually update the plugin by deleting it and uploading a new version.
That’s it, you are ready to go. Click on “Start Translating” and translate the texts you need translated. You don’t need to translate all text in the plugin.
3. Translating from an exiting incomplete .po/.mo files
Say you have obtained an existing translation but you want to do some changes. For example you have downloaded a community translation of WatuPRO. Because these are products of voluntarily efforts they often aren’t up to date with the ever evolving plugin. Some strings will be changed, some new strings will be added, etc.
When you load the files in your wp-content/languages/plugins folder, Loco Translate will recognize the translation and show it. However it will not be showing the new strings that we added in English but are not existing in the community translation.
To solve this, simply click on the Sync button:

Voila, now you have them and can continue translating.
Manual Way
If for some reason you don’t want to use Loco Translate, here’s how to do the translation manually.
1. Get Poedit
Poedit is free editor for .pot files and de-facto the standard for working with them. Unless you have specific alternative in mind and a good reason to use it, I recommend you downloading Poedit, it’s available for most operating systems.
2. Open the .pot file

You actually need to go to File -> New Catalog from POT file. Select the .pot (in WatuPRO this is watupro.pot stored in the root) and double-click on it. Poedit will ask you about project title – you can use the default one. Then you’ll need to save the catalog as .po and .mo files. I recommend you properly name the target file right from this moment. The official docs are a bit lacking on this issue, and it’s very important. The name of your .po and .mo file should be constructed like this:
plugin-textdomain-with-dashes-locale_Locale.po.
To make it more clear, let’s use WatuPRO example again and a French translation. The proper name is:
watupro-fr_FR.po and watupro-fr_FR.mo
How will you know what are the correct parts of this name? The plugin textdomain is usually same as the folder name of the plugin, but to be safe you should seek information from its author OR open the main plugin file and search for “load_plugin_textdomain” call. The first word in the braces is the plugin textdomain. The proper name of your locale can be found at http://codex.wordpress.org/WordPress_in_Your_Language
Where to save these files? The best place is wp-content/languages/plugins folder. This way you will not lose your translation even if manually applying a new version of your plugin.
3. Translate It
Some guides will tell you that you have to translate everything. NO. This is not true. You can omit strings and translate only what you need translated. For example users of plugins like WatuPRO may want only the end-user facing texts translated. In such a case you don’t have to spend time translating everything – the plugin will work just fine with only a few localized texts. For the rest it will use the non-translated text (usually English).
Important: Don’t translate any %s or %d characters that you see in the texts. They will be replaced with dynamic texts and numbers. Just leave them as is.
4. Set Your Locale in wp-config.php
Note: From WordPress version 4.0 this constant is no longer used and is IGNORED. You need to set your lancuage in your Dashboard -> Settings page.

This is a very important step and without it nothing will work.
This below is valid only for WordPress versions before version 4.0. Unless you already use a translated version of WordPress, it’s possible that your locale is not set in wp-config.php. So open the file and find “WPLANG”. You will see a line like this:
define(‘WPLANG’, ”);
You have to add your locale there. Using the French example, it will be:
define(‘WPLANG’, ‘fr_FR’);
That’s it. Save the file and re-upload it. Don’t worry, any plugins and themes that are not translated will keep working fine in English.
5. Re-activate the plugin
Some users report that even after going through the above steps, nothing happens. So you may need to re-activate the plugin to get it to work (this is not documented anywhere so I am not even sure why it’s sometimes required and sometimes – not).
Troubleshooting
If your translation does not work, please double and triple check the following:
- Your .po / .mo files have the correct names. Using the WatuPRO example and French / France this means watupro-fr_FR.po and watupro-fr_FR.mo. These names will be different for other plugins and other locales.
- Your .po / .mo files are in the correct place: wp-content/languages/plugins. Place them there and NOT under the plugin folder. If directory “plugins” does not exist, create it.
- You have selected your language / locale in the WordPress Settings page.
Ideally you shouldn’t have to contact us about problems with translation. If you still do, you’ll need to provide us admin access to have a look. But all we can do is to ensure all the above steps are properly completed.
 The first box is blank by default. If you leave it blank, your calendar will be in English. If you want to have the datepicker in your language you need to enter localization file URL in the box.
 This goes to a javascript file that will be shown directly in your browser. Although you can copy the URL from the address bar of your browser and use it directly (like on our screenshot), we don’t recommend this. It’s better to save the file in your computer and then upload it to your blog. You can use the “Media” menu in your WordPress dashboard and upload the file, then get its URL. Save it in the box and that’s all – your datepicker is now going to be in your desired language.


