Google’s recaptcha is really good but not always the most optimal tool for stopping spambots. It takes a bit too much space, requires entering app IDs, and sometimes is hard for the visitors to solve.
Question based captcha’s are often easier solution. A simple question that requires textual answer is usually enough to keep most bots away, and is easy to code, requires no graphic libraries or API keys.
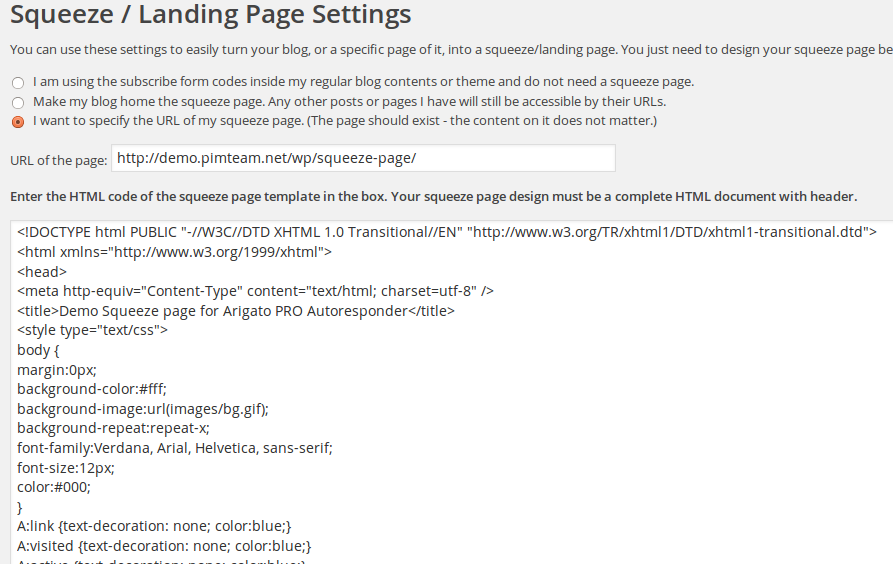
Two of our WordPress plugins – WatuPRO and Arigato PRO already implement such captcha features with great success. Here’s how we did it:
The steps
There are two main steps: to generate the captcha, and to verify it. In the case of our plugins we let our users to create their own questions in the admin panel. Here for simplicity we’ll assume the questions are hardcoded in a PHP array.
Generating the captcha
So, let’s assume we have the questions in array called $captcha_questions in such format:
$captcha_questions = array("What is the color of the snow? = white",
                          "Is fire hot or cold? = hot"
                          "In which continent is France? = Europe");
This code uses one array element for question and answer separated by = sign. You can of course use array of arrays or key => value pairs. But the above example is closer to to the format we let our plugin users input for questions in their admin panel.
So, now we need one random question of these and need to display it on the front-end:
shuffle($captcha_questions);
$question = $captcha_questions[0];
list($q, $a) = explode("=", $question);
$q = stripslashes($q);
Now let’s echo the question on the screen and display a field to enter the answer. You need also one hidden field. Depending on how you keep your questions in the database you may want to pass question ID. If you use hardcoded array of questions you can pass the question key. Or if you use something else, just pass the question itself – it’s a good idea to use base64_encode to ensure easier matching on the back end.
Do not, of course, include the answer anywhere on the page:
echo trim($q)." <input name="text_captcha_answer" type="text" />\n<input name="text_captcha_question" type="hidden" value="\"".base64_encode(trim($q))."\"" />";
Verify the captcha
I’ll just to ahead with the whole function and then explain:
// this function will actually do the verification
function verify($question, $answer) {
     $answer = stripslashes($answer); // don't forget this or you may get unexpected results

     // the $captcha_questions variable needs to be recognized here as well. Use global, constant,  DB entry etc

     $question = base64_decode($question); // decode the hidden field with the question

     // go through all questions and compare
     foreach($captcha_questions as $captcha_question) {
	list($q, $a) = explode("=", $captcha_question);
	$q = trim($q);
	$q = stripslashes($q);
	$a = stripslashes($a);

	if(strcmp($q, $question) == 0 and strcasecmp(trim($a), trim($answer)) == 0) return true;
}
That’s it. The above function goes through all the questions in the array (note that the code does not show where $captcha_questions variable comes from – don’t use the function as is, you need to declare the variable), explodes question and answer and then compares each of the combinations to the values given to the function. In case of match, returns true.
Pay special attention to using stripslashes() and trim() or you’ll have a lot of headaches to figure out why captcha answers are not correct.
Note also that we use strcasecmp to compare the answer to the question because we don’t want the check to be case sensitive.
And here is how to use it roughly:
// the user has submitted the form. Use different variable name if you wish
if(!empty($_POST['submit'])) {
   // verify the captcha
   if(!verify($_POST['text_captcha_question'], $_POST['text_captcha_answer'])) die("The answer to the verification question was not correct.");

   // now process the form
}
The above code isn’t super user-friendly because it will simply die in case of error. I recommend you to implement the check with ajax and stay on the same page until correct answer to the question is given.

