Organizing your subscribers in different mailing lists is great but sometimes you need a bit further categorization – for example based on ad campaign you ran, on interest shown in a given product(s) etc.
Tagging users in Arigato PRO
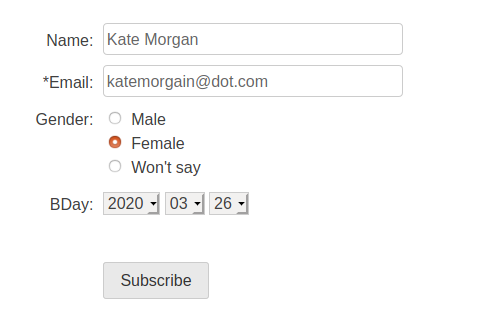
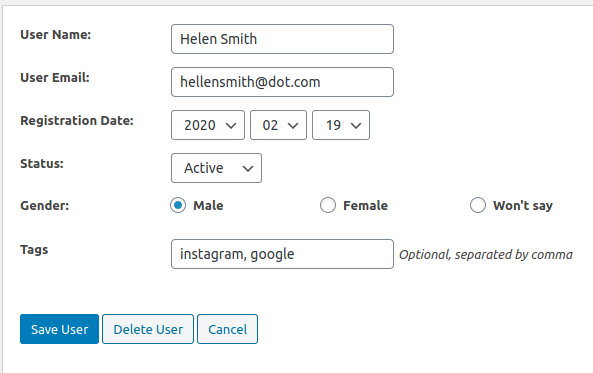
Fortunately the WordPress auto-responder plugin Arigato PRO comes with an easy way to tag users manually in the administration. Go to your Mailing Lists page, click on Subscribers and when you add or edit a subscriber you have the option to specify tags:
Then in the Manage Subscribers page you can use the filters to search subscribers by the standard fields, custom fields, or one or multiple tags (including any or all tags):
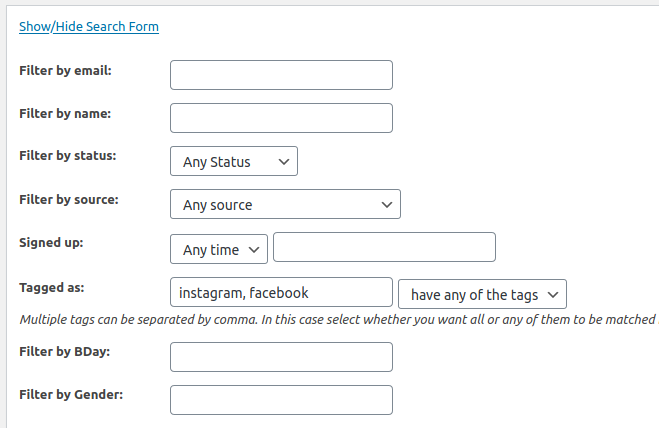
You can then see information on the filtered users, export them for importing in a different mailing list and so on.
That’s good, but the real power comes if you have the Intelligence module installed.
Segmenting by Tags
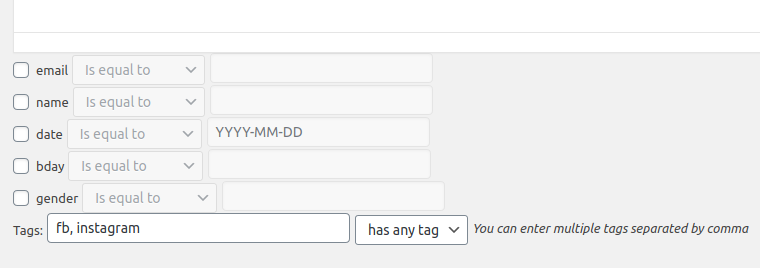
The real power comes when you start segmenting your lists so you can create newsletters and auto-responder messages targeted only to parts of your list. This way you can laser – focus your marketing messages. For example you can send a message only to people of chosen gender, age, or location.
Using tags goes a step further and allows you to segment subscribers by marketing campaign, interests, or anything else that you tag them with:
It’s all good but up to this point you have to add tags manually. Let’s make this even better:
Using Trigger Events to Add or Remove Tags
The event triggers let you add or remove tags (and also move people between lists) when they do any of the following:
- Subscribe to a mailing list
- Unsubscribe from a mailing list
- Click on a trackable link
- Do not click on a trackable link for a number of days after signup
- Read an email
- Just stay subscribed for given number of days

This is super powerful – it lets you for example tag users as interested in a product when they click on a link, tag them as inactive and so on.
And then use these tags for segmentation to send them the right sequence of email messages.
By using these features you can hugely improve your conversion rates and increase profits AND the user satisfaction because they will receive only content they are interested in.