From version 4.7.8 the WordPress quiz plugin WatuPRO supports a new question type – slider / rating. Here is how it looks on the front-end:
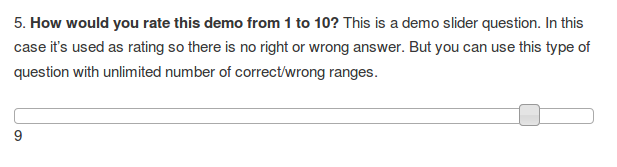
The slider can have any range. In this example we have selected from 1 to 100.
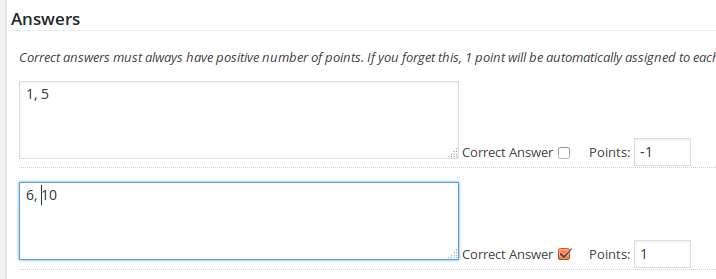
Slider questions often don’t need correct or wrong answers, but if you want to set such, you have the option to define unlimited number of correct / wrong ranges. Here is how this looks. This is how you define the slider range:
 And this is how you can define correct/wrong ranges and add points if you wish:
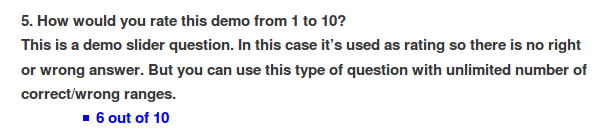
That’s it. At the end of the quiz, the slider displays the rating / value given by the user with or without correct / wrong checkmark depending on your preferences: